Our fireplace wall has needed an update for a long time. In a 33-year-old house, there are lots of things that need updating.
Like most projects, there was a budget to consider. The budget is often linked to how high a priority the project is. Kitchens get big budgets, for example, because they’re a high priority.
Our fireplace wall was a low priority.
This small and fuzzy photo came from the real estate listing when we bought the house 12 years ago. Real estate photos sure have come a long way in 12 years!
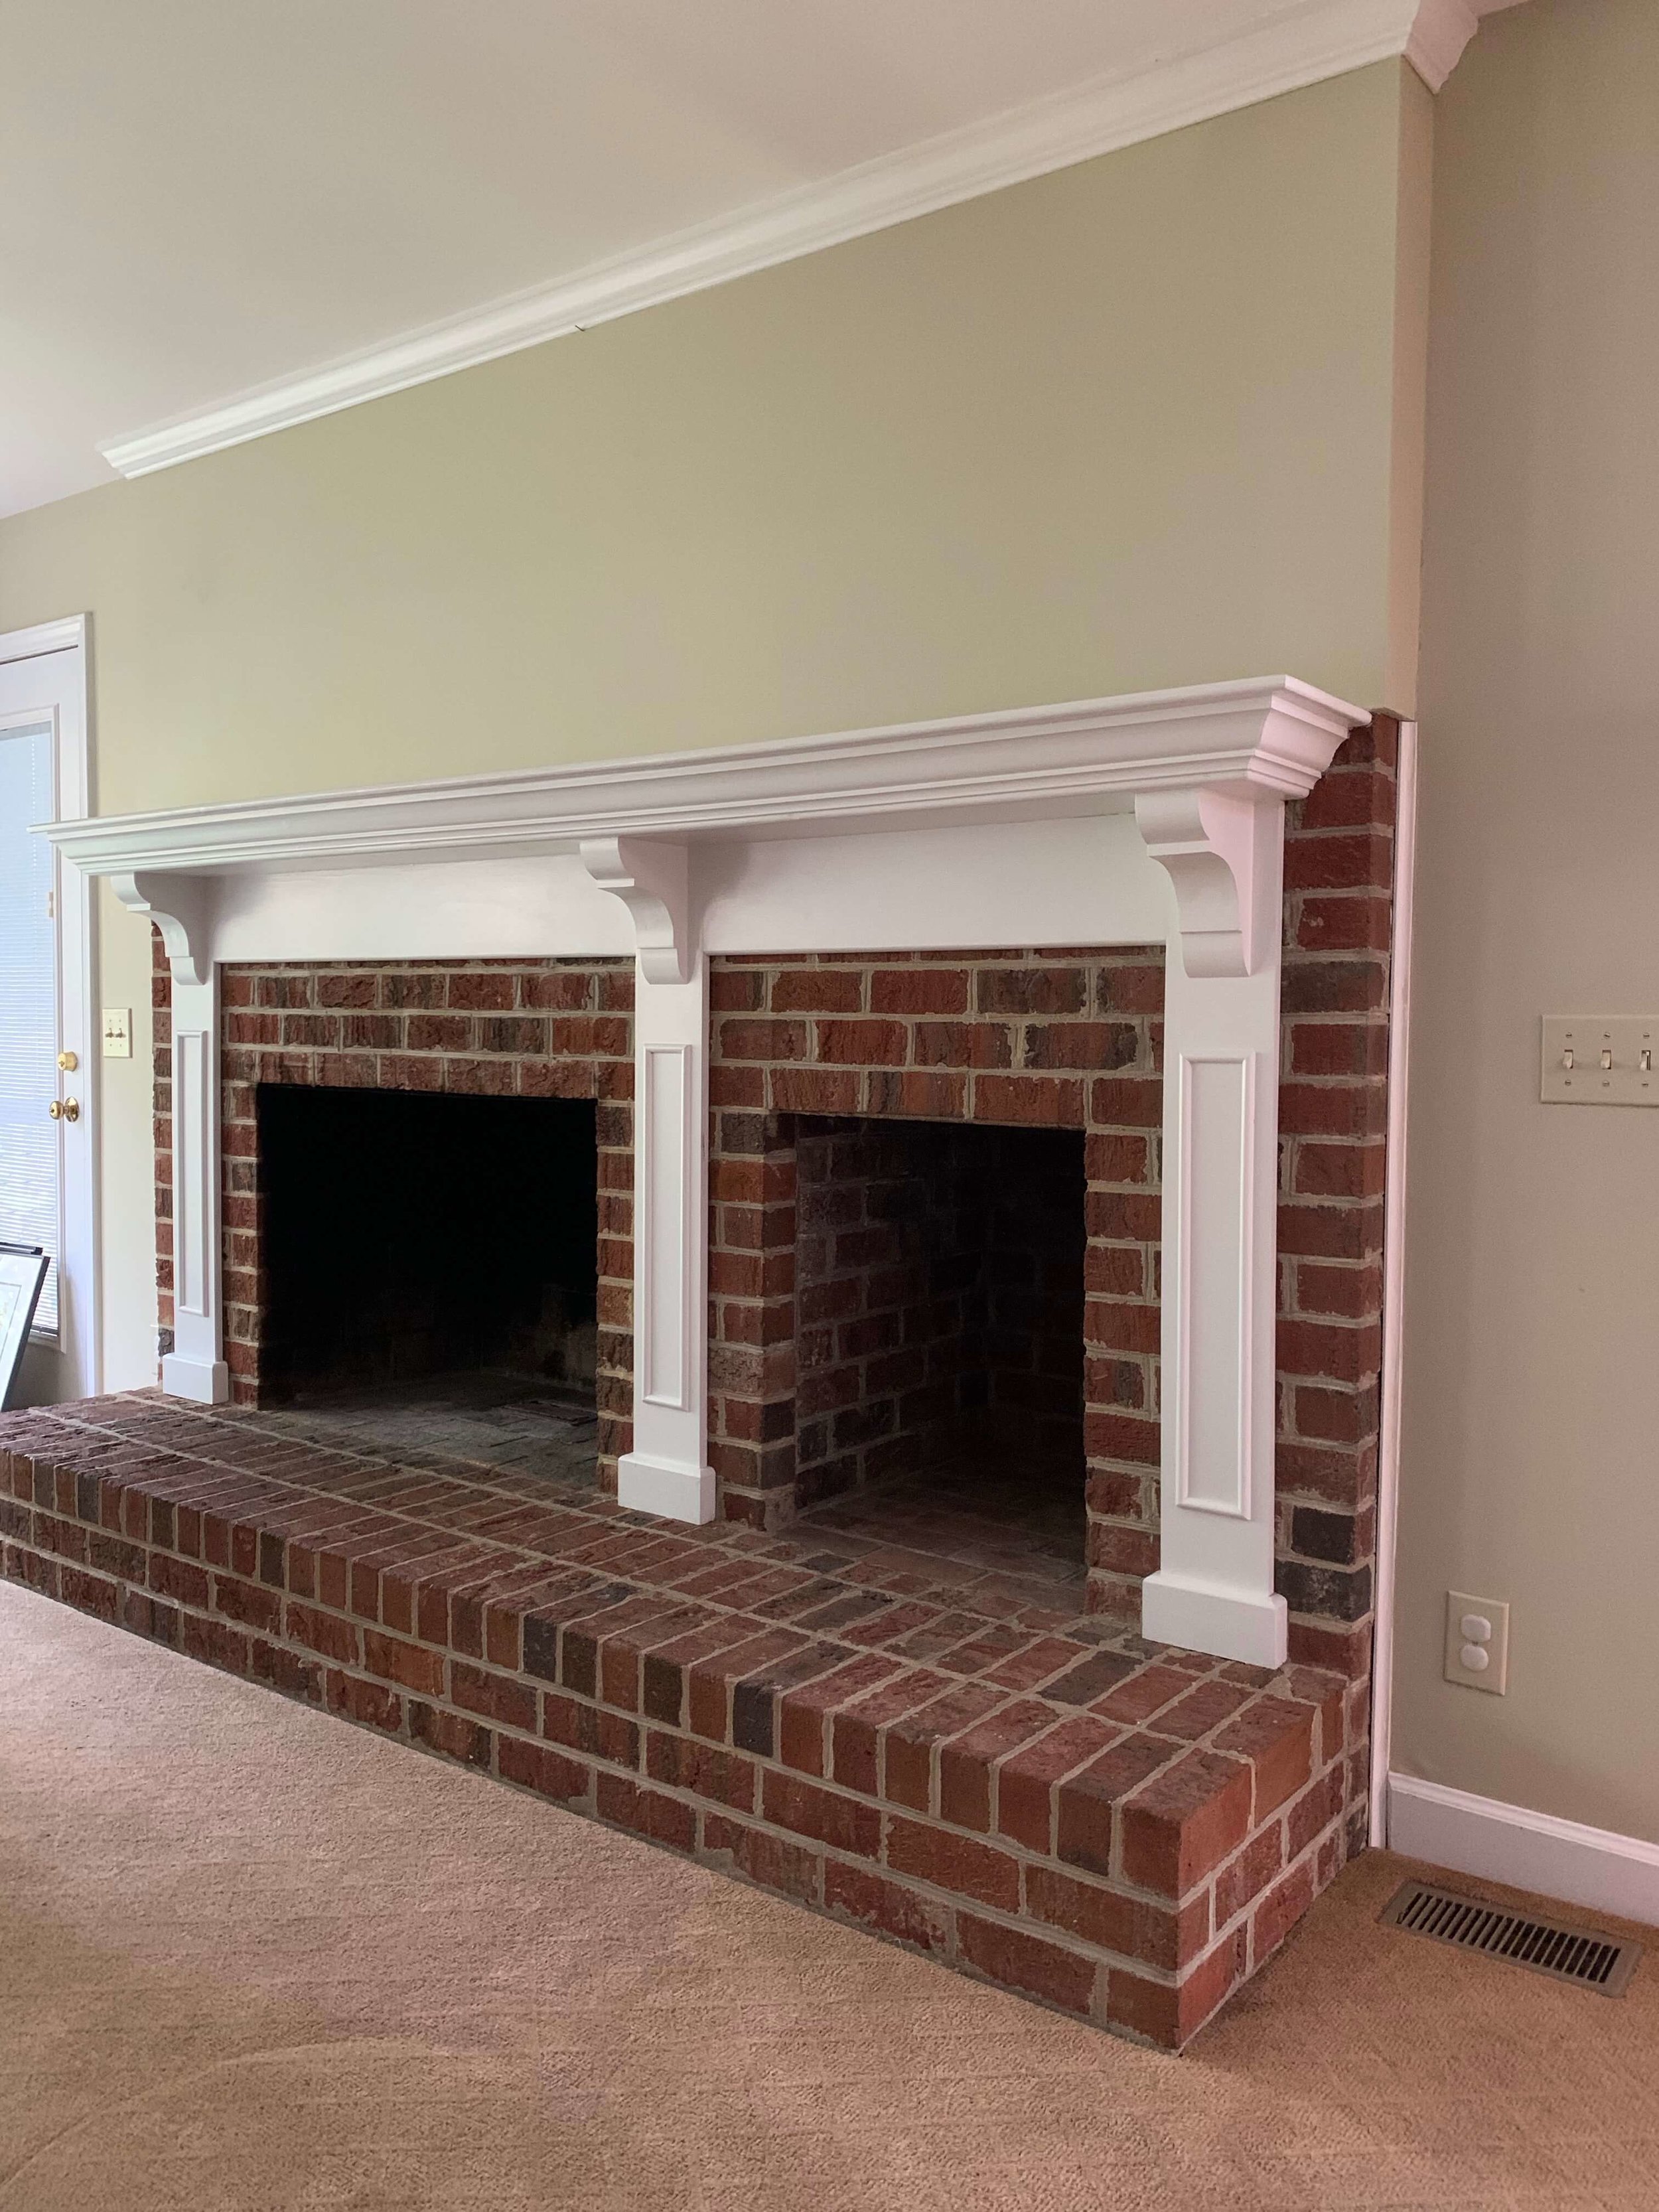
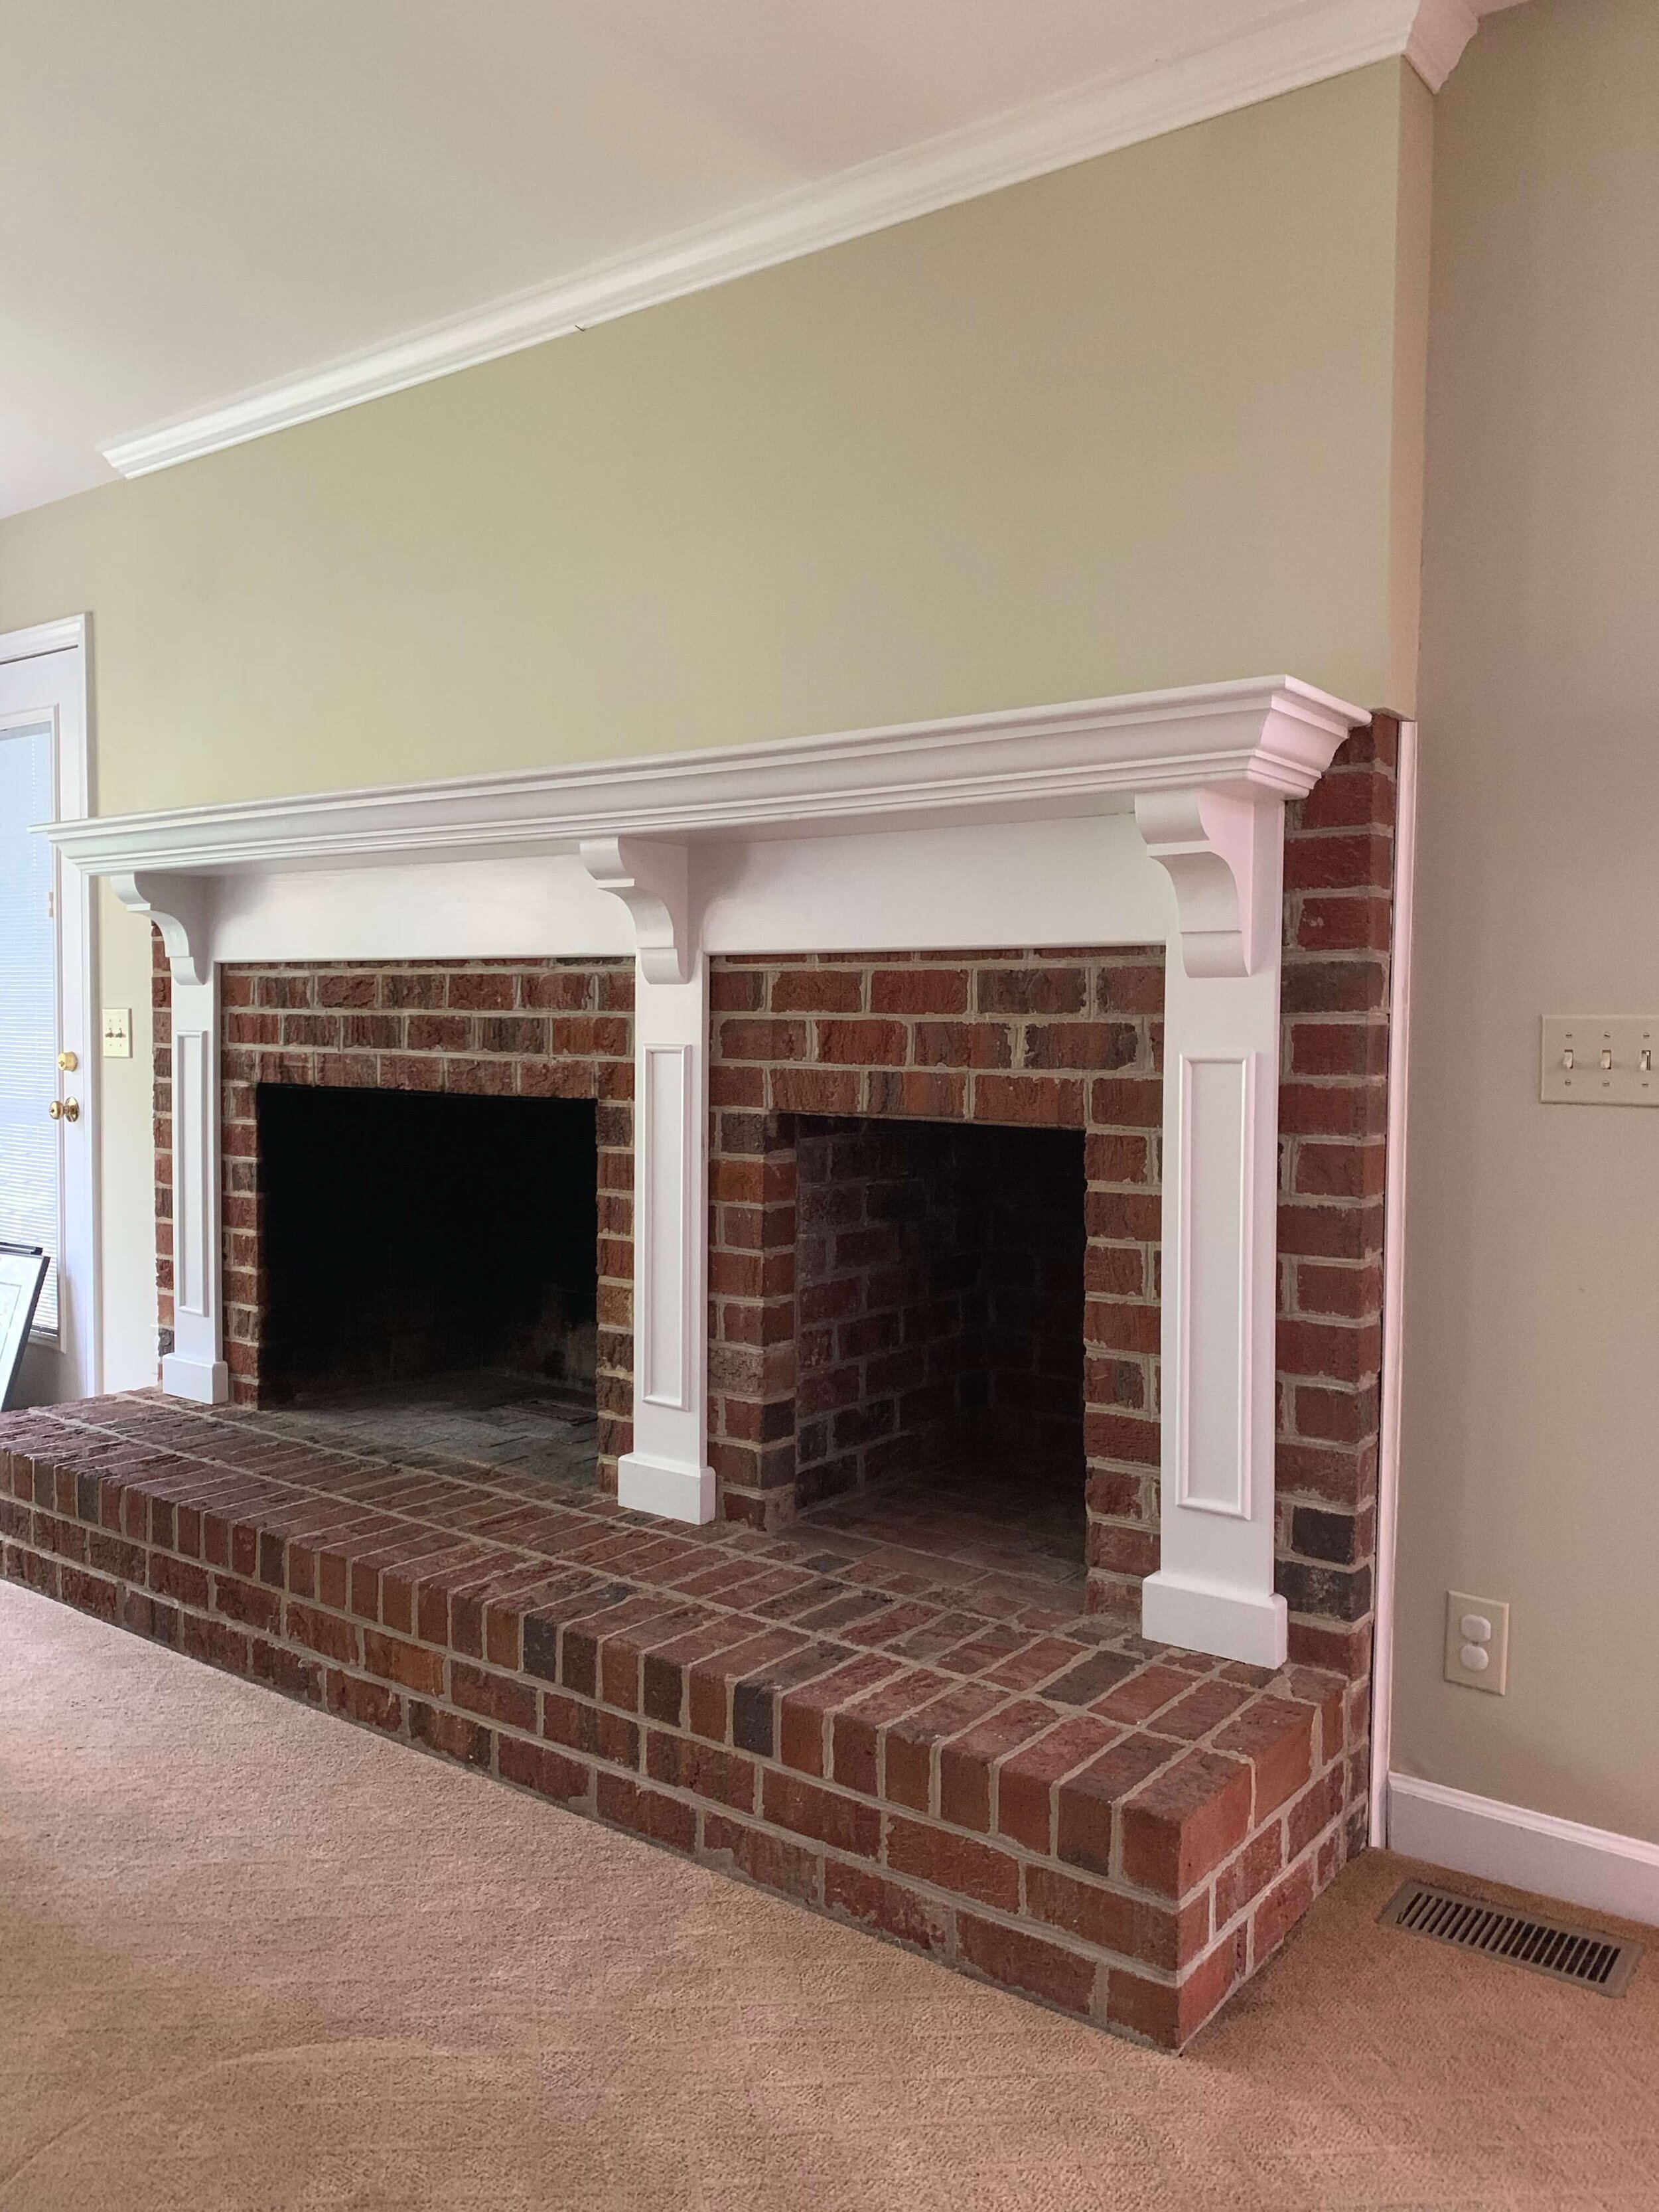
Can you tell that the fireplace has a raised hearth and is brick from floor to ceiling? And the ceiling is 8 feet high. Why they felt the need to have a raised hearth with an 8’ ceiling is beyond me. It’s wide and squatty. But it burns a fantastic wood fire.
The room is fairly dark, even with that lovely wall of windows. The dark red brick isn’t helping. It drove me nuts.
Fireplace Update Step 1
A temporary fix to soften the impact.
Within a year of moving in, I had a sheetrock guy come in and cover the brick wall above the mantel. Then a carpenter came and added legs to the mantel. Both additions helped lighten things up, which was the goal. It stayed that way for 12 years.
We wanted to paint the brick, but just couldn’t bring ourselves to do it. There’s no going back when painting brick!
Then this Fall I visited several gorgeous new homes in the Parade of Homes (see the posts here and here). Every single house had white painted brick somewhere and it all looked great.
I knew it was finally time to get out the paintbrush.
Fireplace Update Step 2
Create a visual to help with decisions.
There were 12 years between Step 1 and Step 2. Feel free to move along at a faster pace if you decide to tackle this project!
A quick mock-up on Powerpoint is so helpful. On the left of my picture above is the Before, obviously. The right side shows the painted brick using the Sherwin Williams Color Snap Visualizer tool. It looks like an incredibly messy paint job because the Visualizer takes a little practice. It was enough to get us to move forward.
Fireplace Update Step 3
Always think about lighting.
Modern Lantern sent me an email about their newest introduction: the Emily wall sconce. No hardwiring required. No wires of any kind! These handsome light fixtures have a battery pack and a mounting system that makes them very easy to install. Taking them down for a quick recharge is even easier.
The mock-up helped me decide how many sconces to use and where to put them.
Here’s a close-up view of the Emily sconce. It comes with the shade, the charger and an LED bulb. I’m a lighting freak and this rocks my world.
Fireplace Update Step 4
Prime, paint and install those lights!
Well, Step 4 is actually to call the painter so he can prime and paint.
Love the white, love the lights. But are we done? Not quite.
Reliable Painting used Luxon from Sherwin Williams to start. It’s a concrete and masonry primer and sealer. Then he used Sherwin Williams Emerald Urethane in Alabaster (SW70087) - one of my favorite whites. There’s a tiny undertone of gray, so it doesn’t go ivory on me.
My talented Hub installed the Emily sconces. It took some muscle. Remember how we covered up the upper half of the brick wall with sheetrock 12 years ago? This meant he was drilling into brick, which took a special drill bit and screws. And muscle.
Sooooo, it’s looking good, but I wanted to squeeze out a little more oomph to finish up this project.
This is Robert from Waltech - adding one more layer of fabulosity.
Fireplace Update Step 5
Push it a little further to get a better result.
In one of my art courses in college, the teacher irritated me because I would show him my finished assignment and he would always say “ok, push it a little further.” NO! I was done!
Nope, had to push it further. Sigh. Turns out the teacher was right.
I had some of York’s grasscloth wallpaper leftover from a client project. It’s a super pretty paper with a silver metallic background. I think they call it Metallic Sisal.
This was the tiniest of wallpaper installations, but Robert lives minutes from my house, so he fit the job into his very busy pre-holiday schedule.
Ahhhh. Done!
You can’t see the shimmer of the wallpaper in an iPhone camera photo, but trust me, it’s there and adds a subtle, wonderful effect. What you can see in the photo is the lovely soft texture of the grasscloth (hung sideways so the lines are vertical). And the texture of the brick is now a feature—instead of the dark, light sucking color. The whole room is lighter. Happy dance!
Almost forgot - I changed out the photos in the frames perched on the mantel. There was no need to replace the frames or the ribbed mats. The new photos are from our trip to the Grand Canyon. We love being reminded of that trip (the post about it is here).
The budget: the whole shebang cost about $700. I had the wallpaper, but factored it in because I bought the overage back from a client.
An aside: it can be very handy to have some extra wallpaper hanging around. You’ll see lots of crafty home decor projects on Pinterest that use leftover wallpaper.
Back to the fireplace wall: you could do this for a lot less as a DIY project. I hired trades to paint and paper and you don’t have to do that. But remember that spilled paint on your rug will end up costing more than a painter!
One more look at the Before:
Buh-bye dark brick! Don’t worry - on the exterior side of this wall is the screened porch and the brick is untouched and looking perfect there.
And now the After! It really makes me smile.
Do you have an area in your house that’s ready for an update? I bet you do.
It just so happens that my 2 Hour Design consultation is perfect for that sort of thing! We’ll sit together, ponder, bounce ideas, look at pictures and hatch a plan to transform that area.
And then it will make you smile!
With sparkle and texture,
Anne


